
13 Yoga Exercises to Correct Scoliosis.
13 Yoga Exercises to Correct Scoliosis. Perform these asanas regularly and they will help correct the curvature of the spine and restore beautiful posture.
Scoliosis is a curvature of the spine to the side relative to the axis. To correct this disorder, you need to create a strong muscular corset that will support the spine in the correct position, and at the same time stretch the clamped muscles, develop the mobility of the hip joints. Physical exercises will help to do this. We will show you how to perform asanas recommended by the National Scoliosis Foundation of the USA. They are suitable even for beginners.
Attention: if you have third or fourth degree scoliosis, back and neck pain, it is better to consult a doctor, work with a physical therapy trainer or yoga.
Stretching poses
1. Back and Shoulder Stretch in Right Angle Pose
- Stand in front of a wall, extend your arms forward at shoulder level and rest your palms on the wall.
- Take a few steps back and stretch your back. Keep your feet hip-width apart.
- Gradually, as your shoulders and the back of your thighs stretch, move further away. Ideally, your hands on the wall should be at hip level, and your body should form a right angle.
2. Back and shoulder stretch
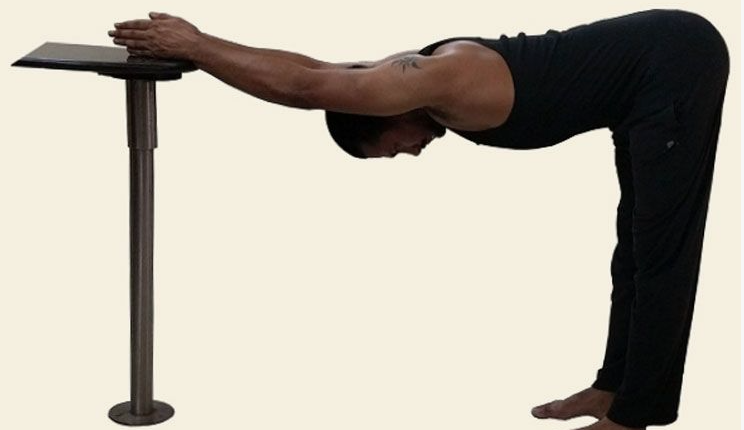
- Grasp a kitchen sink, table, or other surface that is secure and at hip level.
- Step back, holding onto the sink. Keep your legs and back straight, feel the stretch in your back muscles.
- From this position, squat down and bend over with your legs, trying to keep your back straight. Your ribs rest on your thighs.
- Move forward a few inches, go into a deep squat, and then return to the starting position.
3. Back stretch in cat and cow poses
- Get on all fours, shoulders over wrists, hips over knees.
- Arch your back in the thoracic region and hold for a few seconds.
- Bend back and hold the position again for a few moments.
- Perform backbends slowly and carefully.
You can try doing these poses in segments. This will help you work the tight areas of your back better.
Begin to arch your back from the waist gradually, vertebra by vertebra, reaching the thoracic region and neck. When the entire back is arched, begin to bend it back: first gradually bend the thoracic region, only then the lumbar region.
4. Stretching the shoulders and back in the stretching puppy pose
- Get on all fours, shoulders over wrists, hips over knees.
- Take a few steps forward with your hands, lower your stomach as if you want to touch your hips with it, straighten your arms.
- Touch the floor with your forehead, relax your neck. The pelvis is gently twisted upwards so that the back remains straight.
- To get a good stretch in your back, move your arms forward on the floor and your hips back. If you have a right scoliosis, move your arms to the right.
5. Equestrian Hip Flexor Stretch
- Lunge forward with your right leg, leaving your left leg behind you on your knee.
- Place your fingers on the floor on either side of your right foot.
- Keep your back straight, your shoulders down, your chest out, and your gaze forward and upward.
- Try to feel the tension in the groin and thigh behind your standing leg.
- Hold the pose for 30 seconds, change legs and repeat.
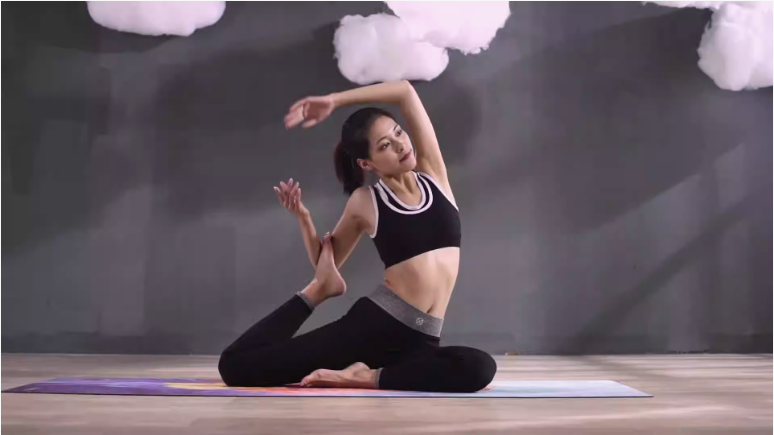
6. Piriformis Stretch in Pigeon Pose
- Sit on the floor, move your right leg forward and bend it at the knee, move your left leg back and try to straighten it.
- Both hips are facing forward, the back is straight, without any arch in the lower back.
- Support your body by leaning on straight arms, or bend your elbows and lower yourself onto your forearms.
- Sit in this pose for 30 seconds, then change legs and repeat.
7. Hamstring Stretch – Yoga Exercises to Help with Scoliosis.
- Lie down on the floor, take a regular band or expander in your hands .
- Raise one leg, place the band over your foot and, gently rocking it, try to pull your leg closer to you without bending your knee.
- Stretch the muscles for 30 seconds, then switch legs and repeat.
8. Spinal twists – Yoga pose to Correct Scoliosis.
- Lie on your back with your arms extended to the sides.
- Move your pelvis slightly to the right, bend your right leg at the knee and move your knee to the left, trying to reach the floor next to your left hip.
- Turn your head to the right and relax.
- Hold the pose for 30 seconds, then switch legs and repeat.
Muscle strengthening exercises
9. Raise your arms and legs
- Lie on your stomach with your arms extended forward.
- Raise your right arm and left leg at the same time.
- Breathe evenly and hold the position for five breathing cycles.
- Repeat the exercise by raising your left arm and right leg.
There is another variation of this exercise:
- Lie on your stomach with your arms extended forward.
- Place your palms on a raised surface about 20 centimeters high, or, if you have sufficient shoulder mobility, on the seat of a chair.
- Pressing your palms onto the platform, lift your body off the floor so that your palms are at shoulder level.
- Hold the pose for five breaths and lower down.
- Repeat several times.
10. Strengthening the rectus abdominis muscle
- Lie on your back with your arms extended above your head.
- Raise your straight legs to 90 degrees, hold this position for five seconds.
- Lower your legs to 60 degrees and hold this position for five seconds.
- Lower your legs to 30 degrees and hold again for five seconds or as long as you can.
- Make sure your lower back doesn’t come off the floor. If you can’t hold it, just lower your legs down as slowly as possible without holding.
11. Half Boat Pose – Yoga Scoliosis Exercise.
This pose also helps strengthen the rectus abdominis.
- Lie on your back.
- Lift your upper back and legs off the floor. Keep your lower back pressed to the floor.
- Extend your straight arms along your body until they are parallel to the floor.
- The toes are at eye level.
- Hold the pose for 30 seconds.
12. Side plank – Yoga Exercises to improve Scoliosis.
One study has confirmed the effectiveness of the side plank for correcting scoliosis in adolescents and adults. Dr. Fishman and colleagues tested the side plank on 25 participants — people aged 14 to 85 with idiopathic scoliosis (whose cause is unknown). The researchers first checked each participant’s posture with an X-ray, then explained how to do the side plank and asked them to hold the pose for 10 to 20 seconds each day.
Because scoliosis is an asymmetrical condition, Dr. Fishman decided to treat it asymmetrically by asking patients to perform the pose only on the weaker side.
On average, patients performed the side plank for 1.5 minutes per day, six days per week for six months. Among the 19 patients who performed the pose three times per week, the condition of the spine improved by 40.9%. In adolescents, the curvature was corrected by an average of 49.6%, and in adults, by 38.4%.
Here’s how to do a side plank:
- Get into a push-up position with your shoulders over your wrists and your body in a straight line.
- Raise one arm off the floor, turn your body so that your chest faces the side, and extend your arm up above you.
- If you have a curvature of the spine to the right side, perform the plank with support on your right hand.
- Hold the pose for 10-30 seconds. Every day, try to hold the plank a little longer.
13. Relaxation in the corpse pose
This exercise helps you relax after a short workout.
- Lie on your back with a folded towel under your knees and something under your head to keep your neck in a neutral position.
- Close your eyes and relax completely.
- Breathe deeply and calmly, try to feel how the tension leaves your body.
- Relax for five minutes.
- After this, get up smoothly and carefully.
Do these exercises 3-4 times a week and you will improve your flexibility and posture.